Design 1
For our first project we thought of everyday items that we can't live without. I then chose from the list of ideas and decided to make a makeup holder. As of today, all of my makeup and brushes are in a cup on my bathroom counter. I like to be very organized and this is something that has been bothering me for a long time. I wanted my makeup holder to be small and efficient. First, I sketched out my design, built it in Inventor, exported it to MakerBot, and printed the makeup holder. After my first design, I found some issues and started the process over again with my improved design.
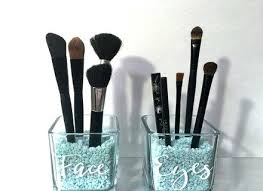
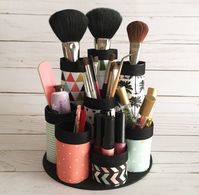
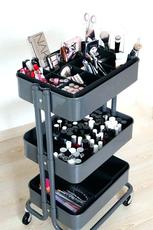
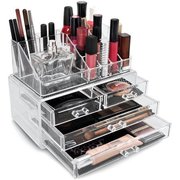
Products on the Market
I researched makeup holders that already exist on the market. I listed 3 pros and 3 cons about each makeup holder to help with making my own unique makeup holder.
|
|
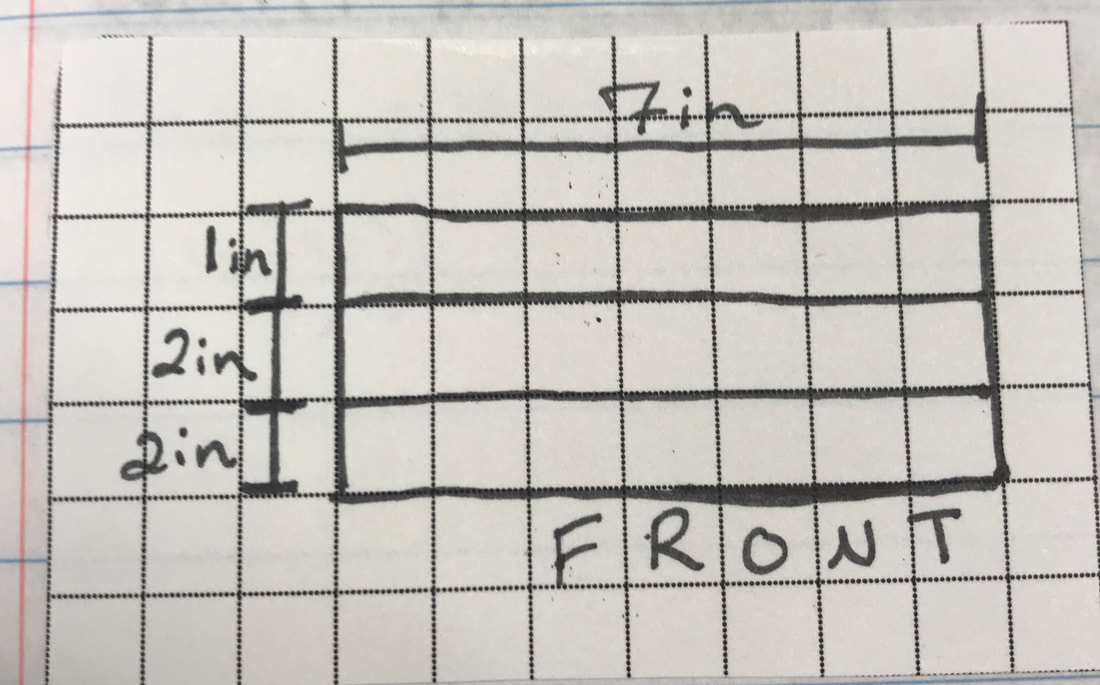
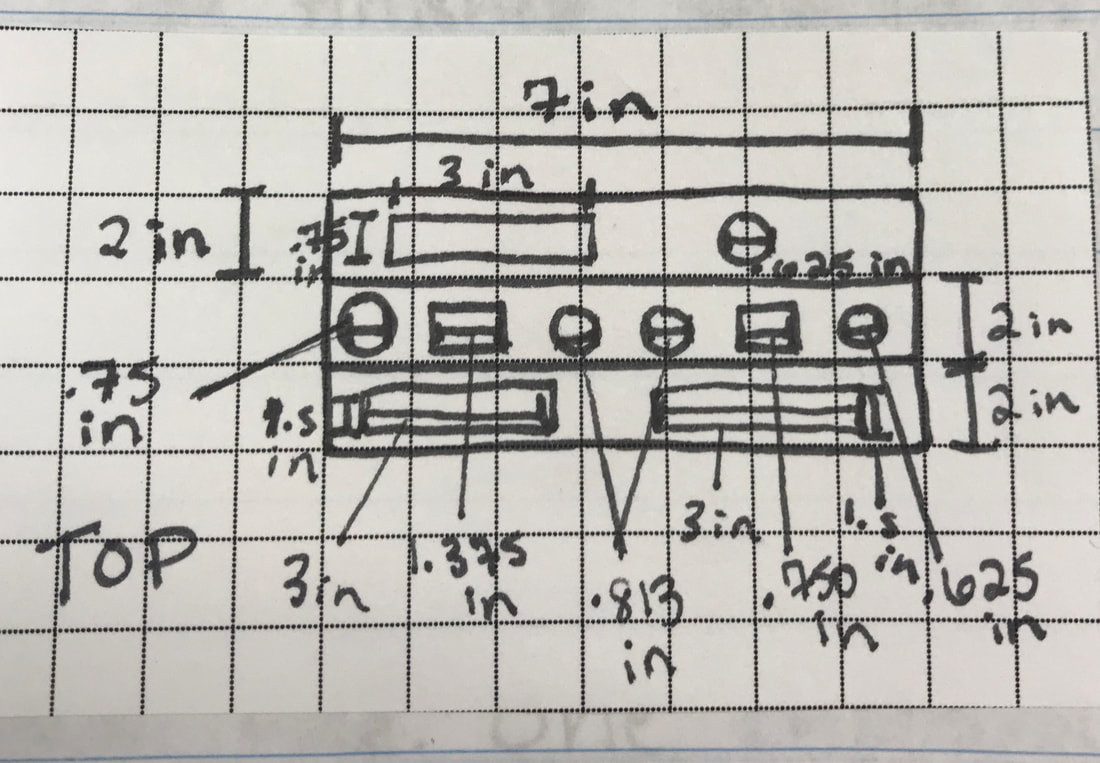
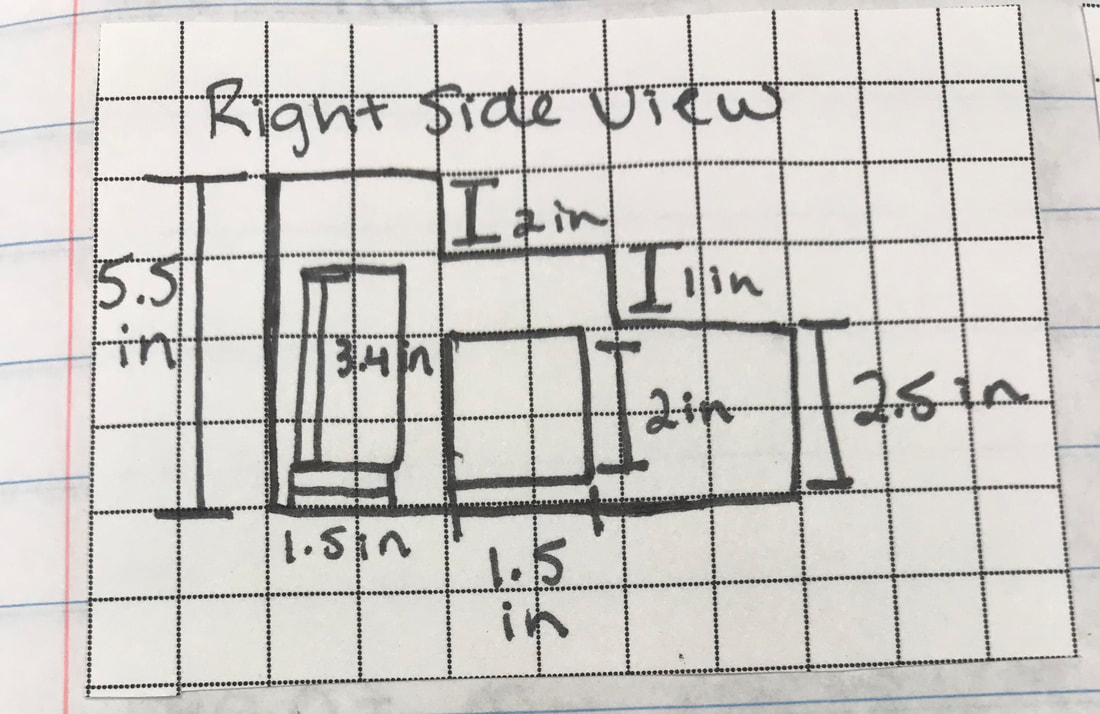
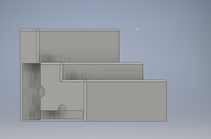
Sketch
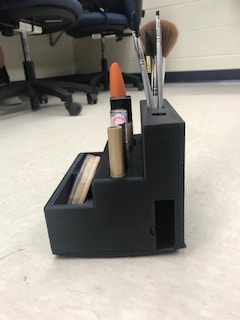
Steps: I wanted to make a makeup holder that would sit on my bathroom counter for my everyday makeup, so I created a step design. I did this design so my makeup would be easily accessible and I could put extra storage in the side. I measured my makeup so the organizer can hold different types of makeup even if I get a new brand of makeup.
|
|
|
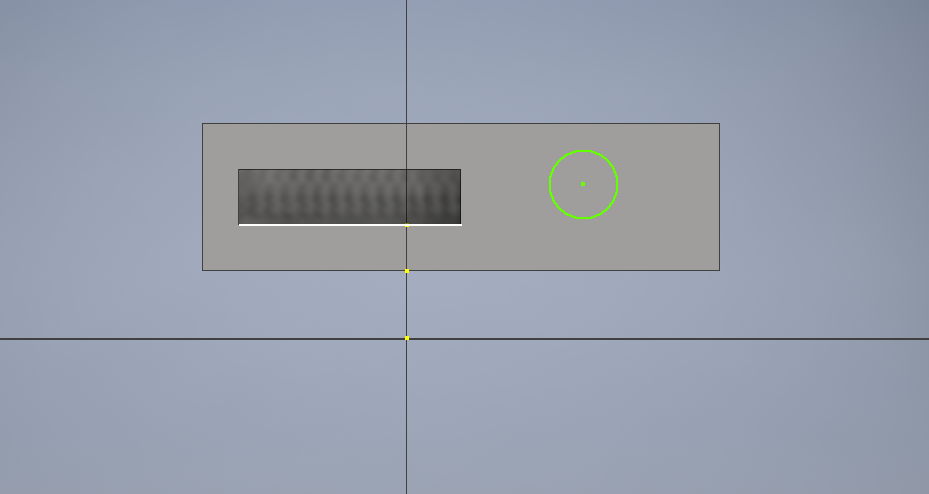
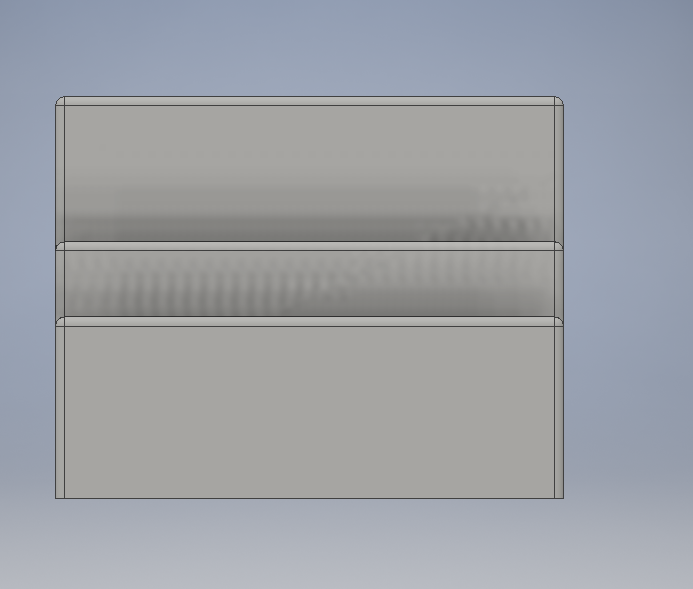
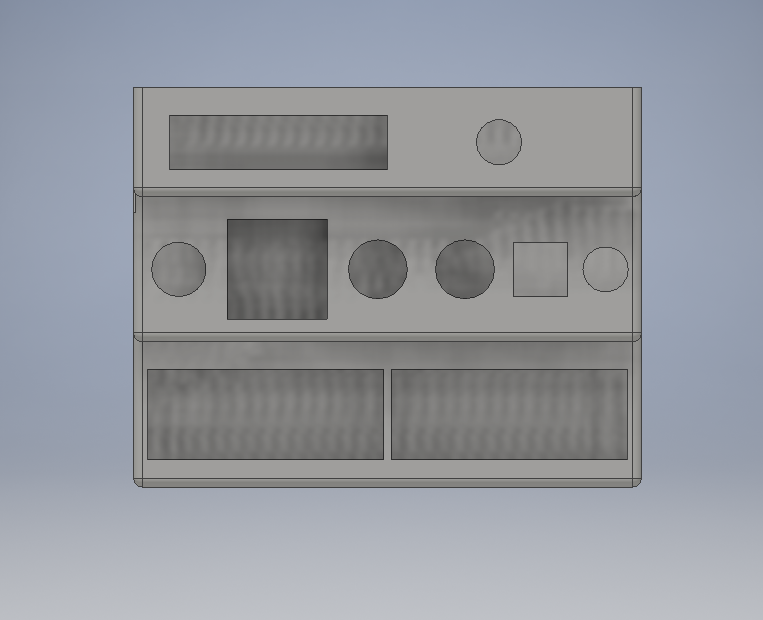
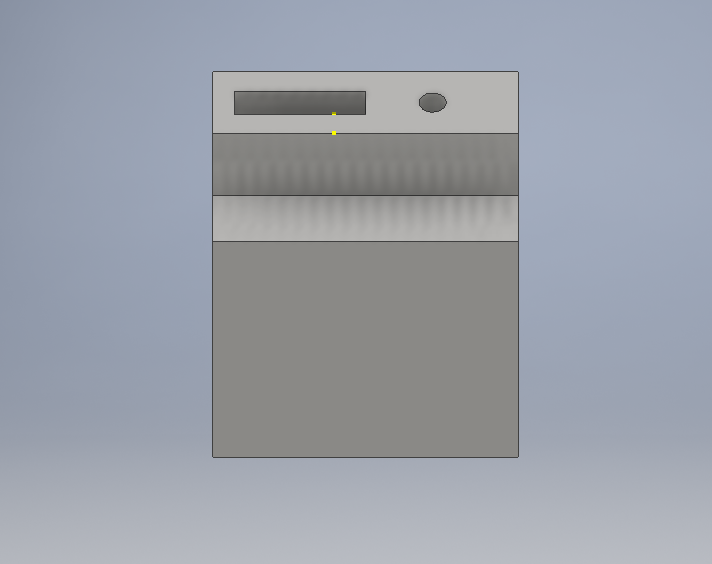
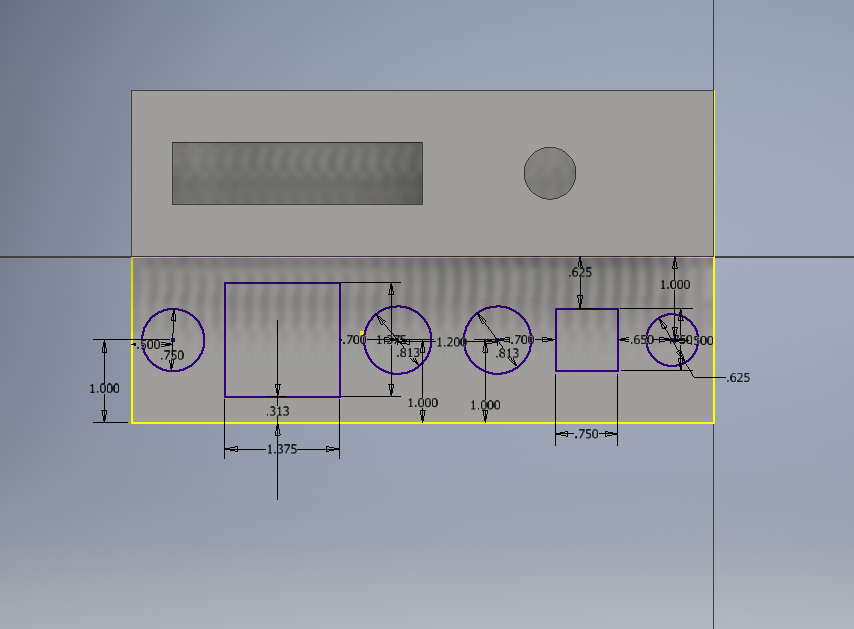
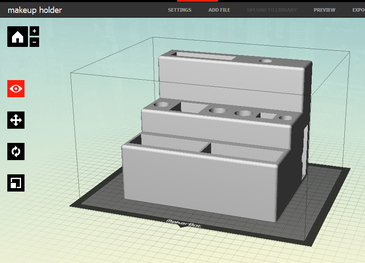
Inventor
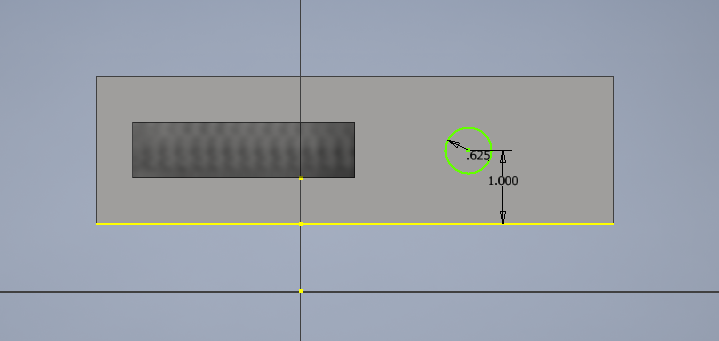
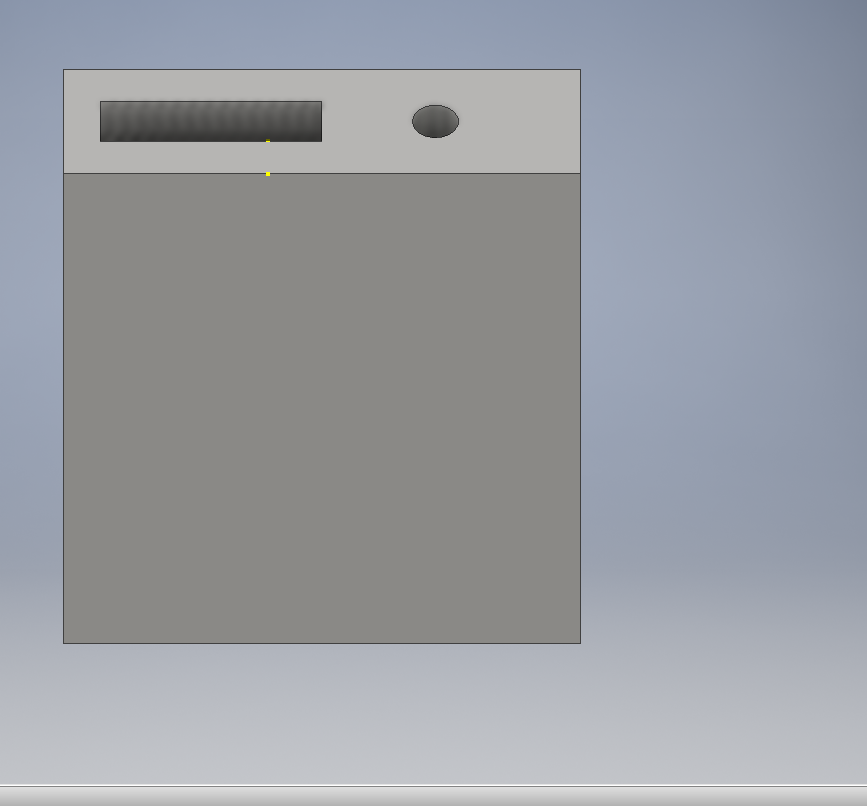
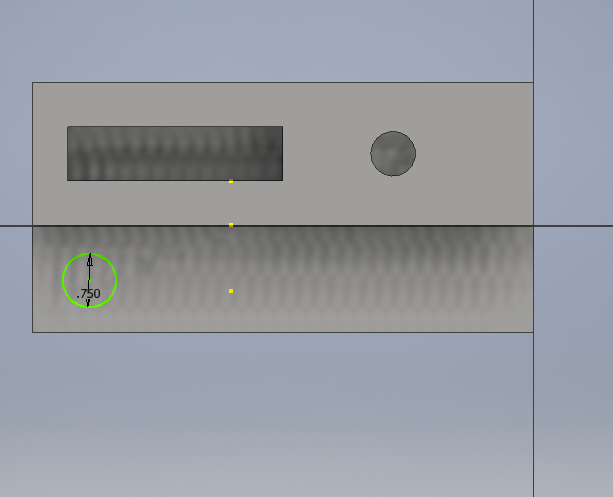
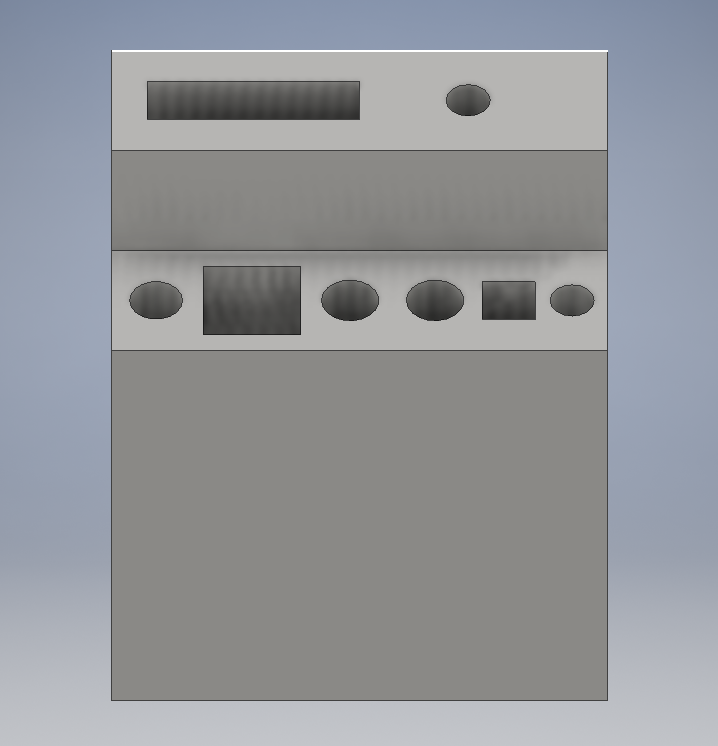
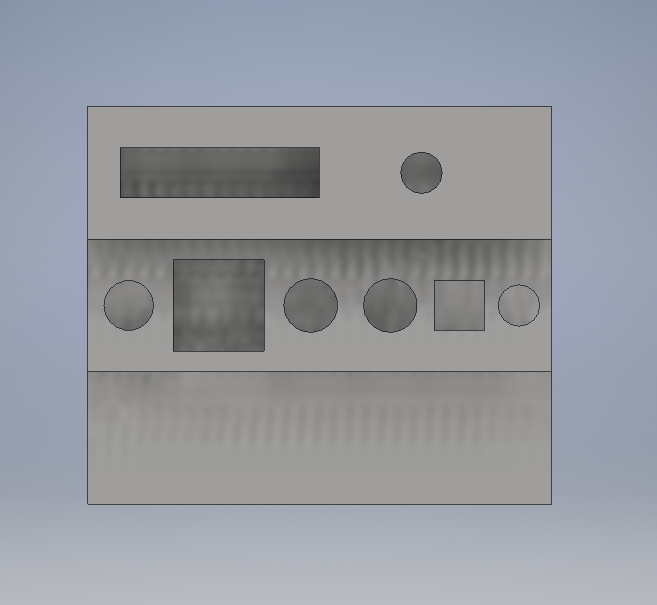
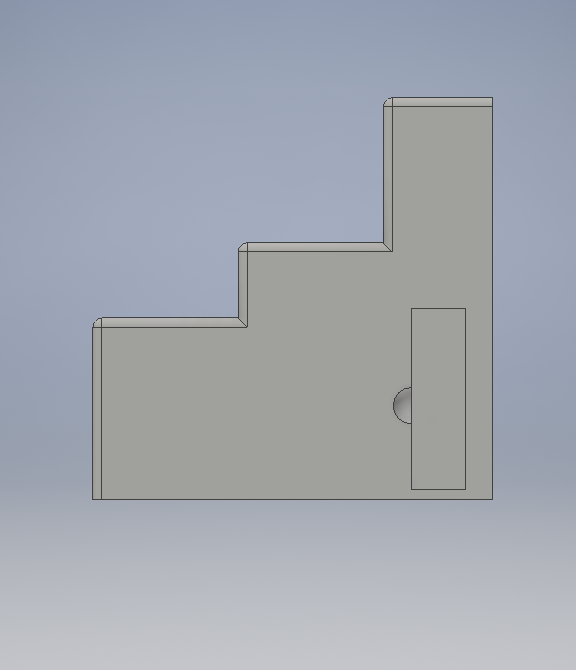
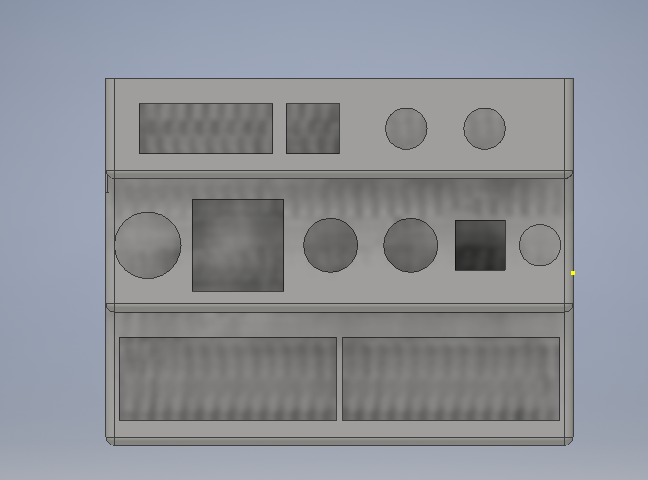
Steps: I started by creating my tallest step of my makeup organizer. I sketched and extruded my bush hole and toothbrush hole. Then I created my second step. I sketched and extruded holes for my mascara, foundation, lipstick, chap stick, lip gloss, and eyeliner. Next, I created my third and final step of my organizer. I sketched and extruded a q-tip hole and a hole to hold my powder. On one side of my organizer, I sketched and extruded a hole to hold my blush. I also created a hole next to the blush hole, and used the fillet tool to make a finger hole so my blush would be easier to get out. On the other side, I created a hole for my retainer and made a finger hole to get my retainer out. For all of my sketches and extrusions, I used the dimension tool to make sure my dimensions from my sketches would fit.
|
|
MakerBotSteps: After finishing my design in Inventor, I exported my file to MakerBot. To do this, I changed the file to a CAD format and an STL file. Then I opened it in MakerBot, scaled it to 1000 and laid it flat. I added a raft, supports, and made the print a high quality. I previewed my print and then exported it onto a flash drive.

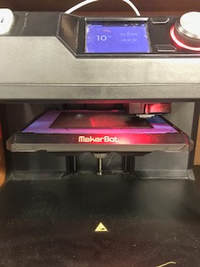
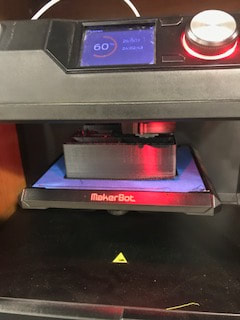
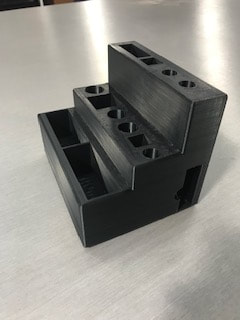
Steps: I chose the 3D printer with the black filament, inserted the flash drive, and chose my file. I waited for the printer to heat up and start printing. The print took 50 hours.
InventorIn Inventor I made the diameter of the mascara bigger, made the depth of the blush hole smaller, and added more holes. I added another hole next to my toothbrush hole. I added a hole on the side next to my retainer to hold my eye shadow, I split my brush holder to make it more organized, and I made the finger holes on the side bigger to fit my finger.
|
|


MakerBot
After finishing my design in Inventor, I exported the file to MakerBot. I scaled it to size, added a raft and supports, and laid it flat.
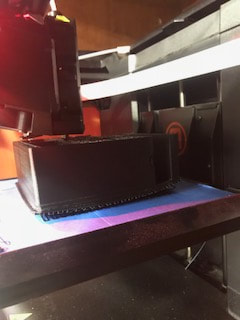
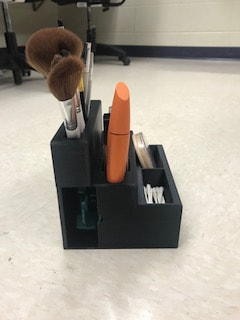
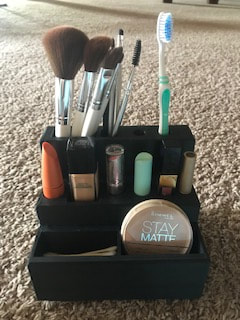
I printed my makeup holder in black. The first time I printed my makeup holder, it warped. To fix this problem, I used the new printer which is better for printing bigger objects. My print took about 40 hours, and only warped a little at the bottom. When the organizer was done printing, I tested it and all of my makeup fit perfectly.

|
|
What I learned
I learned many new skills from this 3D print redesign project. I learned how to take a problem and invent a solution. In Inventor I learned how to use a new tool. I learned how to use the fillet tool to round the edges of my makeup holder and to make finger holes. I also learned new things in MakerBot. I learned how to change the setting to make a print a higher quality. When I printed my makeup holder the first time, it warped. To fix this, I used the new printer to improve the quality of my print.
