Idea
When we were assigned a final project that the only requirement was to use three machines in the Innovation Center I struggled to find an idea. No teacher has ever let me just pick what I want to do. I came up with many projects but I didn't like any of them. I started to think about college and what I would need. Eventually I came up with the idea to make a skateboard. I was overwhelmed at first because I had no idea where to start, but throughout this page of my website you will see the steps I had to do to create my own custom skateboard.
Sketch
https://www.youtube.com/watch?v=KSKb3gngndw (assemble skateboard)
https://www.youtube.com/watch?v=9HiSnRomvvI (skateboard mold)
http://diyskate.com/mold_02.html (skateboard mold)
https://www.warehouseskateboards.com/blog/2017/11/22/size-skateboard-need/ (deck dimensions)
https://www.youtube.com/watch?v=9HiSnRomvvI (skateboard mold)
http://diyskate.com/mold_02.html (skateboard mold)
https://www.warehouseskateboards.com/blog/2017/11/22/size-skateboard-need/ (deck dimensions)
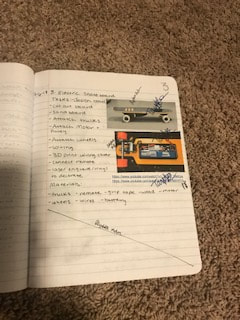
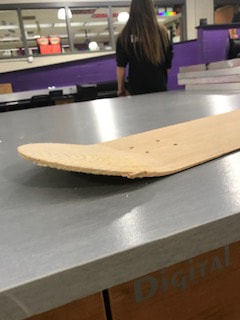
I decided to create a regular skateboard so it doesn't matter which way I ride it. I designed it so it would be symmetrical and have an angle at each end.
Deck
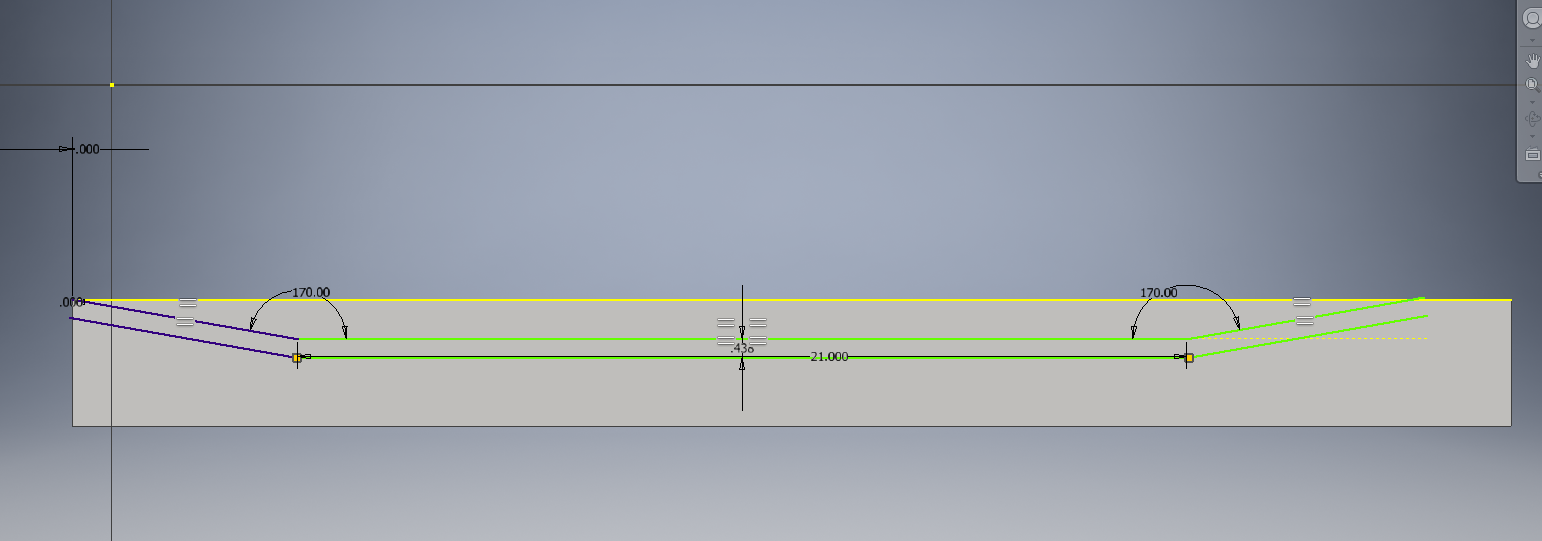
Inventor:

|
|
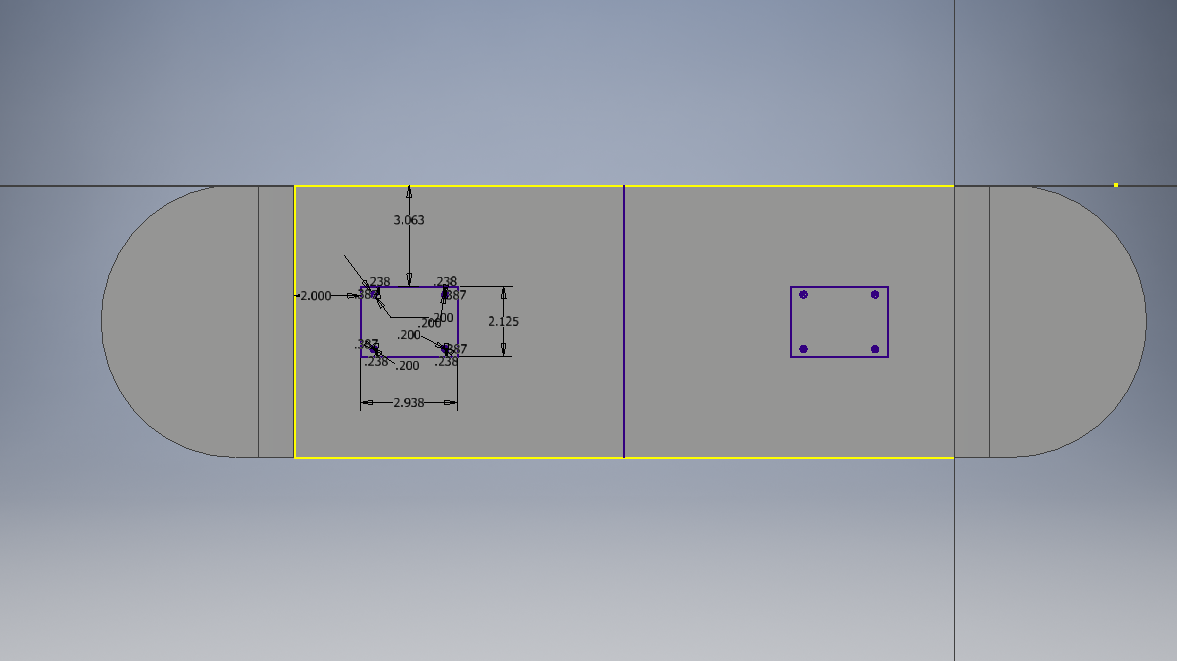
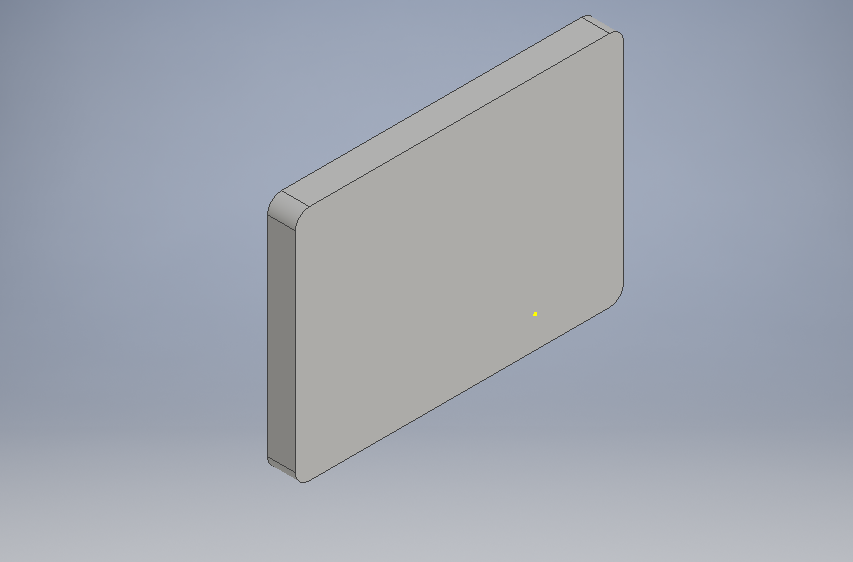
I started to design my skateboard in Inventor so I could 3D print a prototype and transfer the file to Fusion 360 to cut the deck out using the CNC router. I sketched a rectangle and extruded and cut out the part that I wanted. I sketched the deck in the rectangle to make sure everything was symmetrical. Then to make the ends round I sketched a circle at each end and extruded it to get rid of the corners. I filleted where the ends met the board and sketched and extruded holes for the trucks.
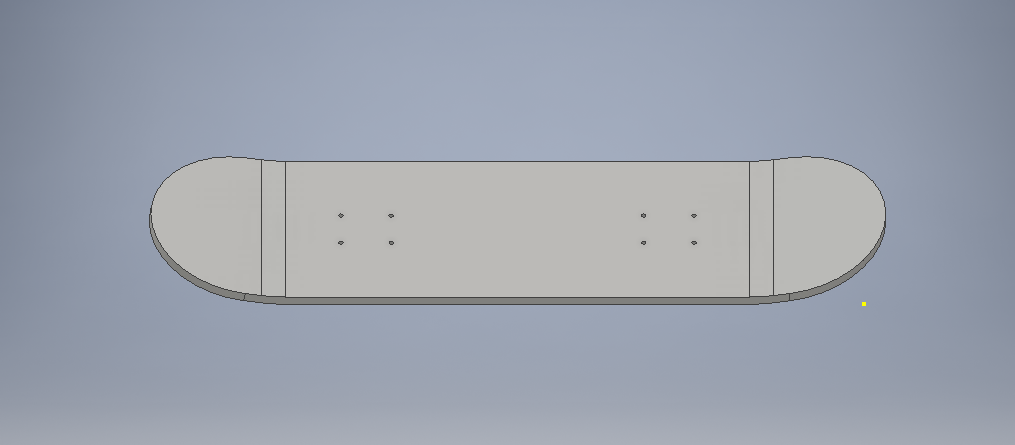
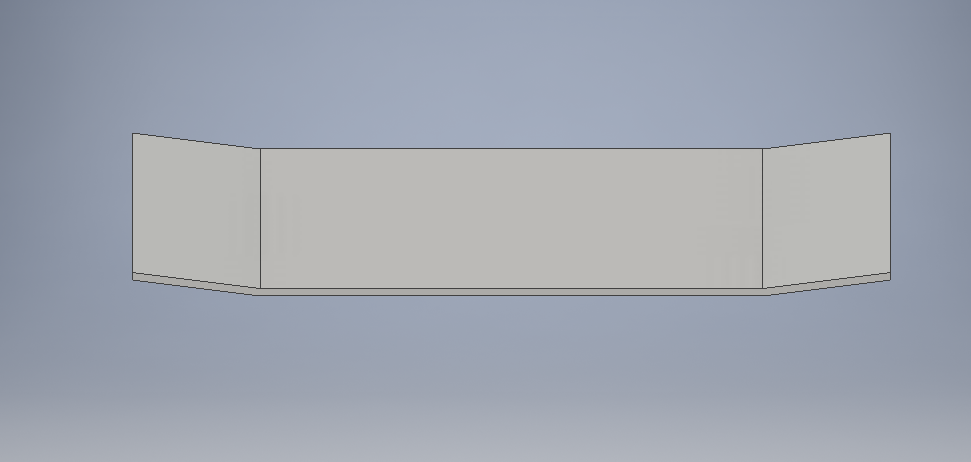
MakerBot:
|
|
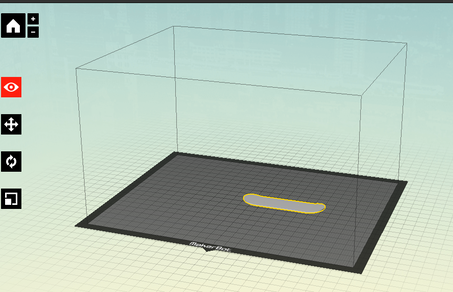
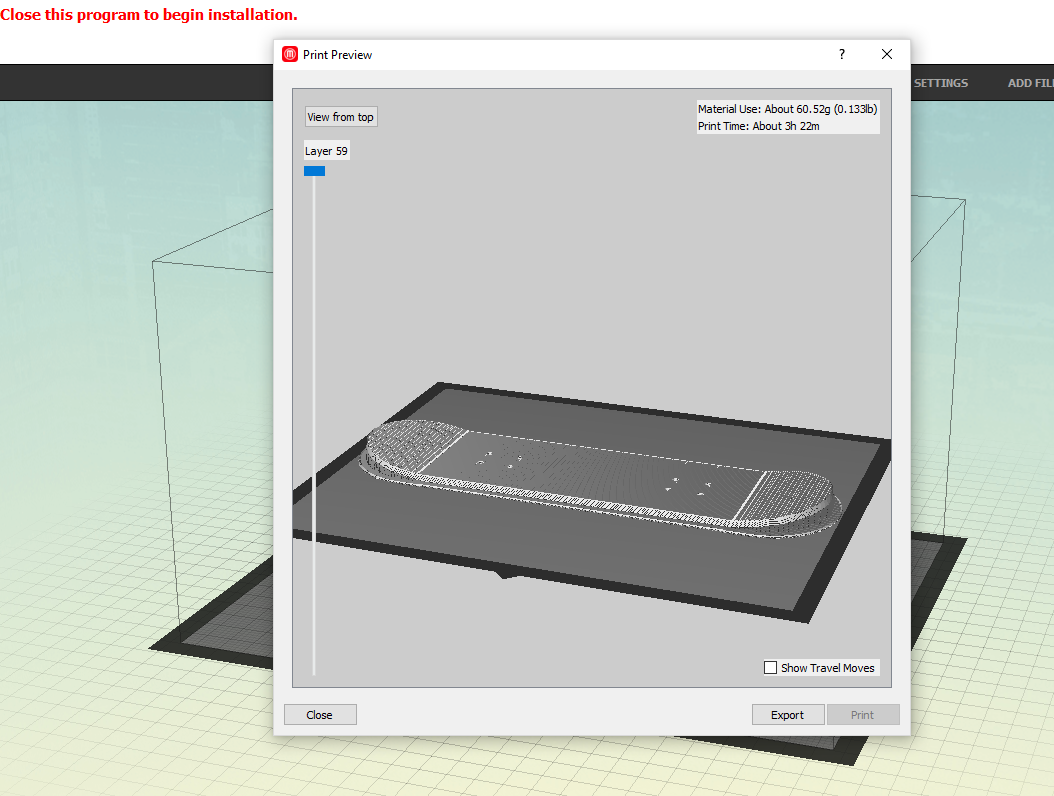
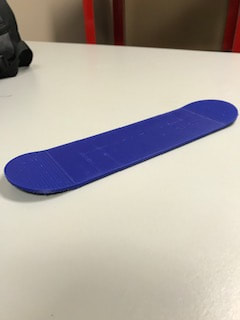
After designing my skateboard in Inventor, I transferred the file to MakerBot to 3D print a prototype. I printed the deck with a raft but no supports.
3D Print:
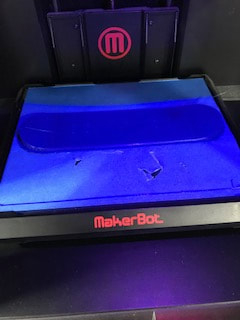
I saved the file and put the flash drive into the 3D printer. The print took about three and half hours.
Fusion 360:

|
|
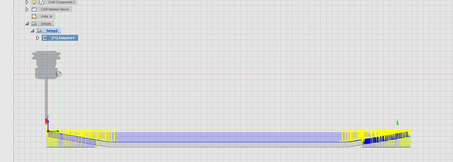
After the succesful 3D print, I transferred the file into Fusion 360 so I could cut out the board using the CNC router. I made four files, the bottom, the top, the holes, and the perimeter of the deck. First, I chose the correct coordinates on the deck,
Router Prototype:
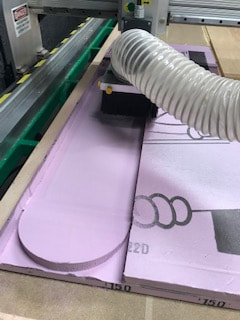
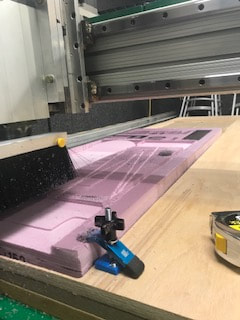
After creating the file in Fusion 360, I made a prototype out of foam using the CNC router. After cutting the deck out of foam I made a prototype out of wood. I put my trucks and wheels on the prototype and tested out my skateboard. I realized I wanted to change the angle and thickness of the board, so I tweaked the Inventor and Fusion 360 file for my final deck.
Router Failure:
|
|
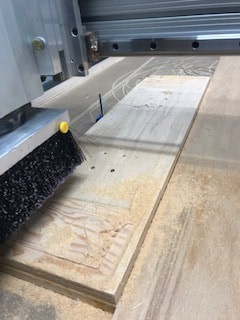
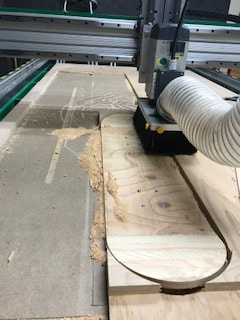
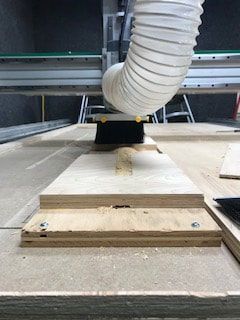
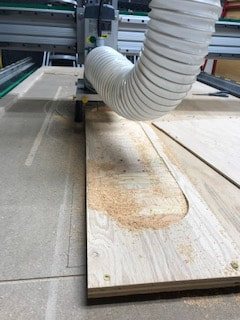
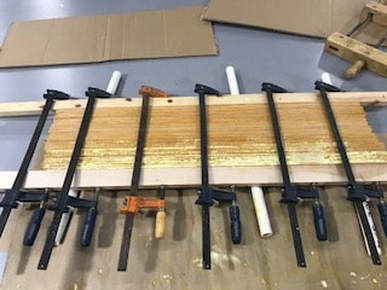
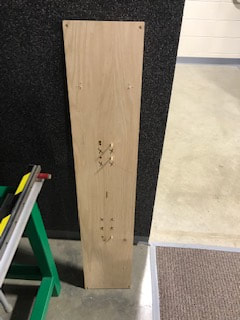
I glued many pieces of thin and long oak strips to create the wood for my final deck. I planed the wood and added two pieces of oak wood onto the ends for the angle of the ends. After creating my wood prototype I realized I needed a better way of holding the wood down when the router was cutting it. I created a jig to hold the board using a large piece of wood with the truck holes drilled through and wooden dowels to put into the holes. I attempted to create my final deck and failed because it was too thin. The router failed to complete all of the passes it needed to so I had to run it multiple times and in the end the deck was very thin.
Router Finished Deck:
|
|
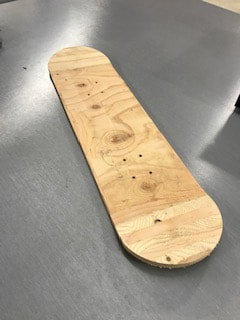
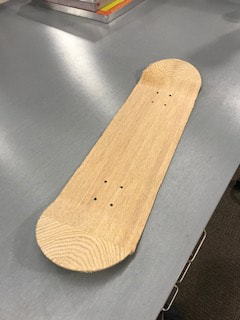
After the failure of cutting my deck, I looked back at Fusion 360 to see if there were any problems. I looked over everything, and started to glue wood together again to cut out my deck. After cutting it out there wasn't enough wood for the tips of the board so I glued more wood to the top and ran the program again. I finished cutting out my final deck using the CNC router.
|
|
Risers
Inventor:
|

|
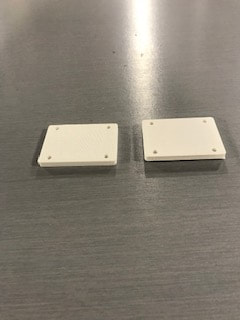
The next step of my project was creating my risers. I used the dimensions of my trucks to design my risers on Inventor. I sketched and extruded a rectangle and filleted the edges. Then I sketched the four holes and extruded them so they would go all the way through the rectangle.
MakerBot:
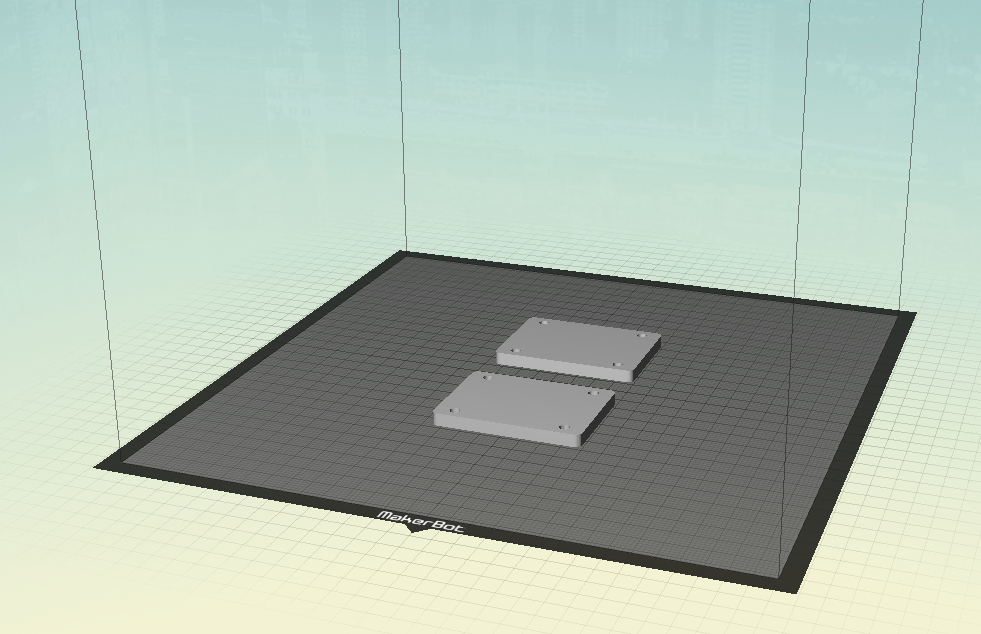
|
|
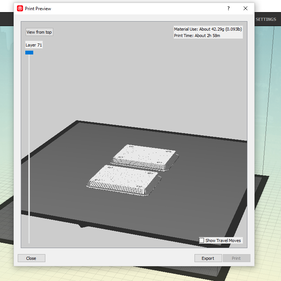
I transferred my file to MakerBot so I could 3D print the risers. I printed the risers with a raft but without supports and at a high quality.
3D Print:
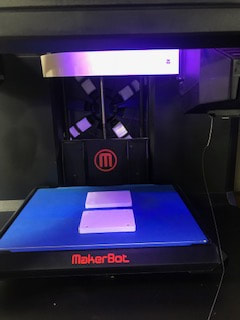
I put the file in the 3D printer and changed the filament to white to match my trucks. The print took about three hours.
Unicorn Spit StainPractice:
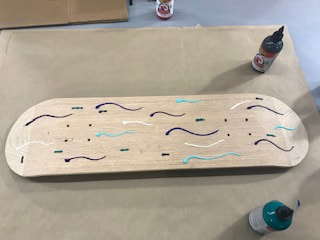
I looked up videos and images of the different designs and techniques of using unicorn spit stain. I chose a marble design and practiced on a scrap piece of wood.
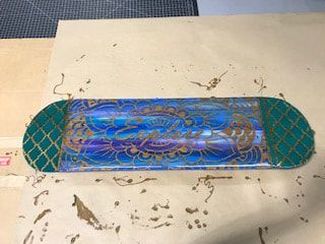
Stain on Deck:
|
|
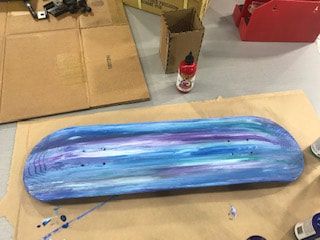
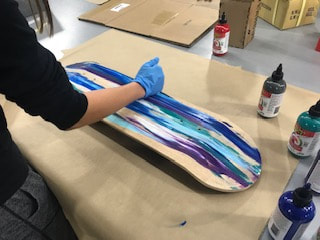
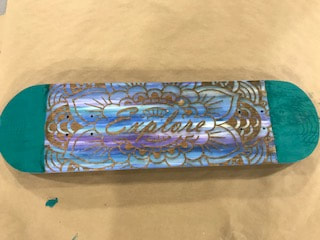
After practicing using the unicorn spit stain, I stained my board. I used grey, purple, teal, light blue, dark blue, and white. I put a each color of stain around my deck and used my hand to spread the stain onto the wood. When I was done covering the bottom and edges of my deck I left it to dry for 24 hours.
Laser Engrave
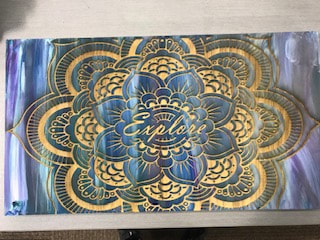
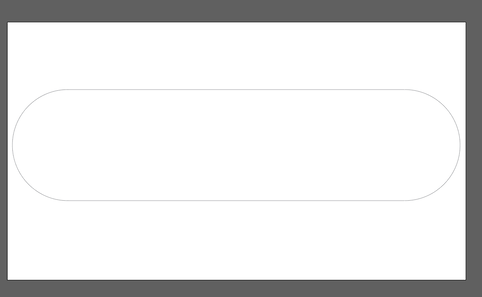
Illustrator:
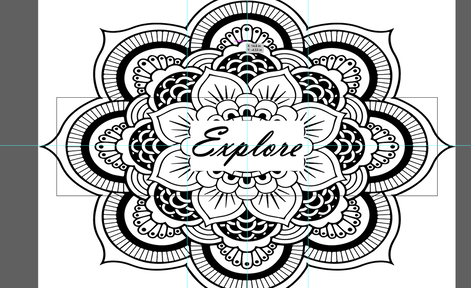
I created my laser engraving design in Illustrator. I made the art board the size of my deck (32 by 8.5 inches) and copied and pasted a floral design. I put the word "explore" in the middle with a box around it.
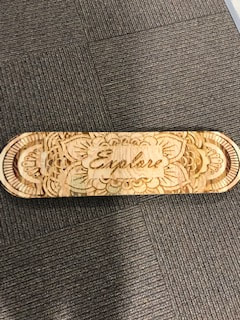
Laser Prototype:

I took the file to the laser and using Illustrator and the ucp I engraved my prototype. I decided to create outlines around the word "explore" instead of having a box around it.
|
|
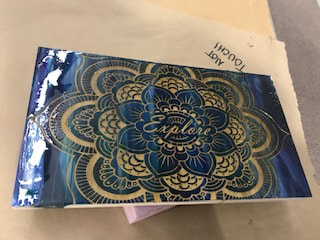
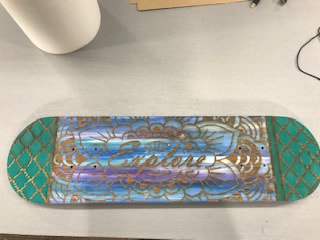
Final Laser Engraving:
I engraved the design onto my scrap piece of wood first to make sure the laser would go through the stain and then stained my final deck. Since the laser got further away when engraving the tails of my board the laser got out of focus and engraved the tails black. I didn't like the ends were black so I sanded them off, restained them, created a new design, and engraved the ends of my deck.
SealantPractice:
I used envirotex to finish my deck. I practiced using it on my scrap piece of wood and it took 24 hours to dry.
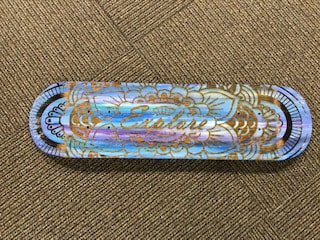
Final:
After practicing using the envirotex, I realized I needed to put more on the edges. I put the envirotex onto the bottom and edges of my deck, and let it dry for 24 hours before putting my grip tape on.
|
|
Grip Tape
Illustrator:
To cut out my grip tape I used the laser. First I created the shape in Illustrator and then took the file to the laser.
Laser Cutter:
I opened the file on Illustrator and then on the ucp to cut my grip tape.
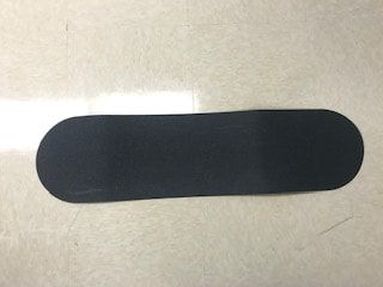
Grip Tape on the Deck:

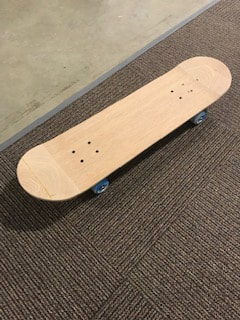
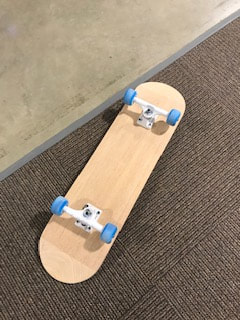
I peeled the back of the grip tape off of one edge and started the roll the grip tape onto my deck. After putting the grip tape on, I put my risers, trucks, and wheels onto my deck.
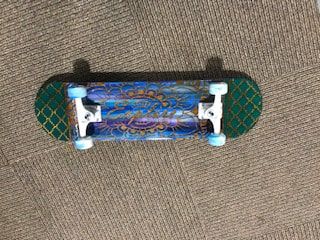
Final Skateboard
|
|
What I Learned
Throughout my final project I learned many things. I learned how to design a skateboard in Inventor, and how to use new drilling tools in Fusion 360. I learned how to make a jig so my deck would stay in place on the CNC router. I learned to accept the fact that multiple trials may be required to get a project done well. I also learned how to use unicorn spit stain, and fix problems such as the laser engraving when they come. This semester of Big IDEA has taught me many new skills that I can hopefully build off of later.
