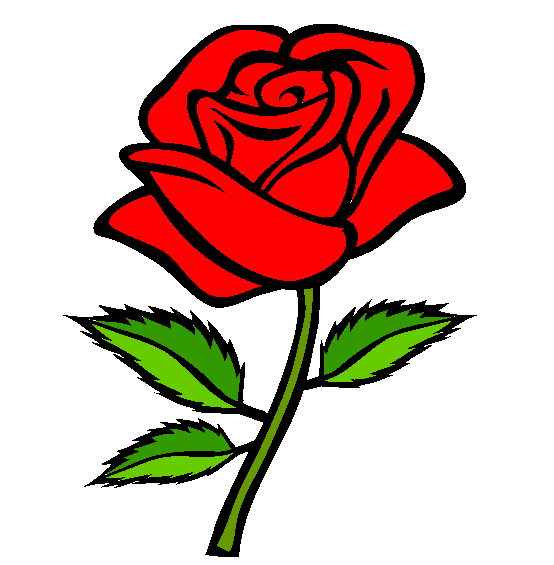
Rose
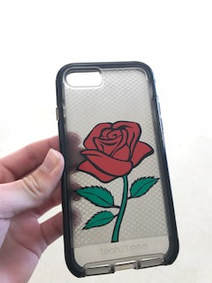
For my vinyl cut, we are required to have three layers. I wanted to put something on my phone, so I looked up different vinyl cuts people put on their phones. I mainly saw different Disney characters, although I liked the idea, I didn't want a princess on my phone. My favorite Disney character is Belle, so I chose a symbol that would represent her yet still look good on my phone. I chose a rose. I split the rose into three layers using Illustrator, and then cut the three layers using three different colors with the vinyl cutter.
|
|
|

|
|
Steps:
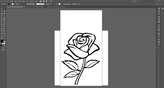
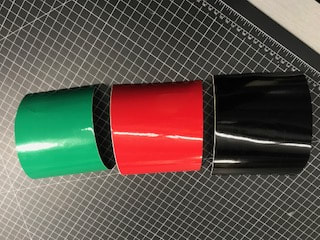
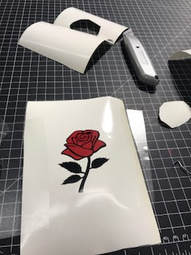
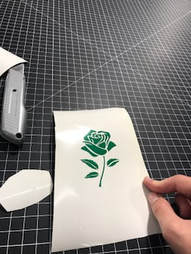
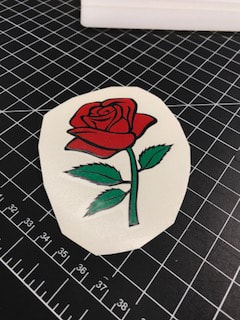
I chose a rose from the Internet, and saved it to my H-drive. Then, I made an art board of the size of my phone. I placed the image of the rose on the art board, and deleted all of the shapes to get a black outline of the rose. I saved this as my black layer. Then, I went back to my original picture of the rose and saved it as my red and green layer. I transferred these files to a flash drive, and opened the file up in the lab. I placed the black vinyl in the vinyl cutter, and cut out the black outline of the rose. I placed the red vinyl in the vinyl cutter, and cut out the whole rose in red. I placed the green vinyl in the vinyl cutter, and cut out the whole rose in green. At a 45 degree angle, I peeled the excess vinyl from the rose. Using application tape, a dental tool, and a squeegee, I placed the red and green layer on the black outline of the rose. After the rose was complete, I used application tape to place the rose on my phone case.
What I Learned
Throughout my time using the vinyl cutter, I learned many new skills. I learned how to separate the image into three layers using Illustrator. I learned how to place different vinyls in the vinyl cutter, and cut them form Illustrator. I learned that I could print my image multiple times using different vinyl, and only apply what I need for that color to the outline of my image. Lastly, I learned how to apply the vinyl to my phone using dental tools, a squeegee, and application tape.
